

A theme can be described as a set of preconfigured fonts, colors, and styling behavior. Themes are usually applied to create a professional or good-looking appearance. Microsoft office suite has similar themes that can be applied to documents of various types. Being able to customize and set your favorite theme is, therefore, an added advantage that will improve the aesthetics of your spreadsheet-related works. Changing a theme will thus affect changes by applying the effects to the selected components. Documents theme also helps in the quick application of effects to an entire workbook.
Changing a document theme in Excel
Procedure:
1. Open your workbook and navigate to your worksheet.
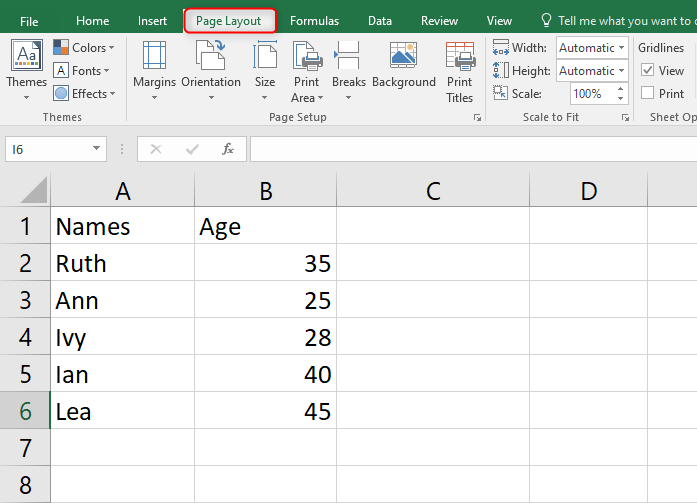
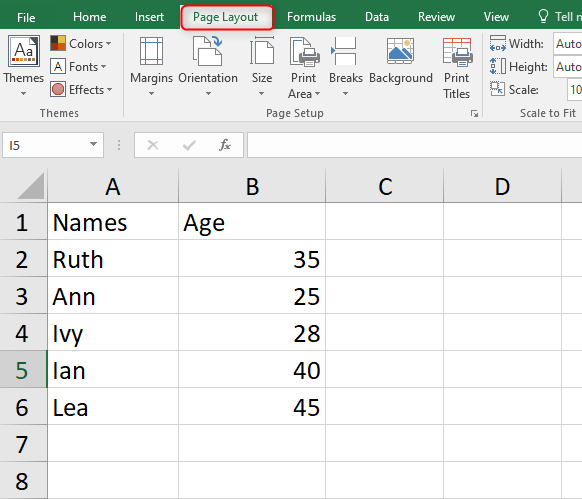
2. Select the Page Layout tab
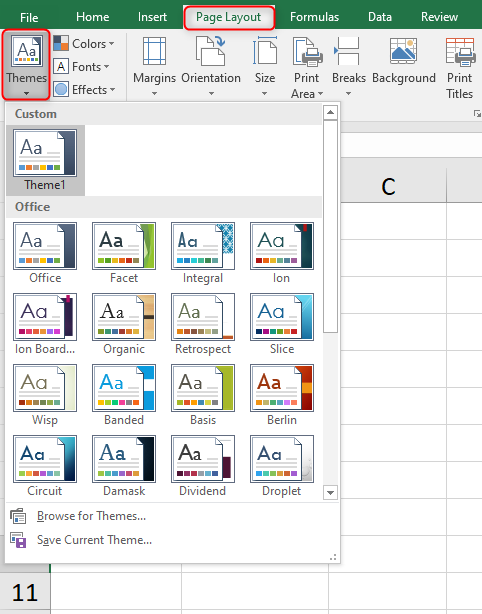
3. Click on the themes Icon under the theme group. A list of themes from Excel's theme gallery will be displayed. The default selected theme will be the Office theme.

4. Select a theme of your choice that says for example "integral "theme
5. You will now observe that there is a change in colors, font, and font size used.
Customizing a theme
Setting colors
Existing themes can be edited or changed according to one's will. Colors are some of the important attributes that can be edited for prebuilt themes. The themes can then be applied to a document or saved for future use.
Procedure
The following steps can be undertaken to customize a document theme in Excel:
1. Ensure that you are on the appropriate worksheet inside Excel.
2. Navigate to the Page Layout tab on the menu bar
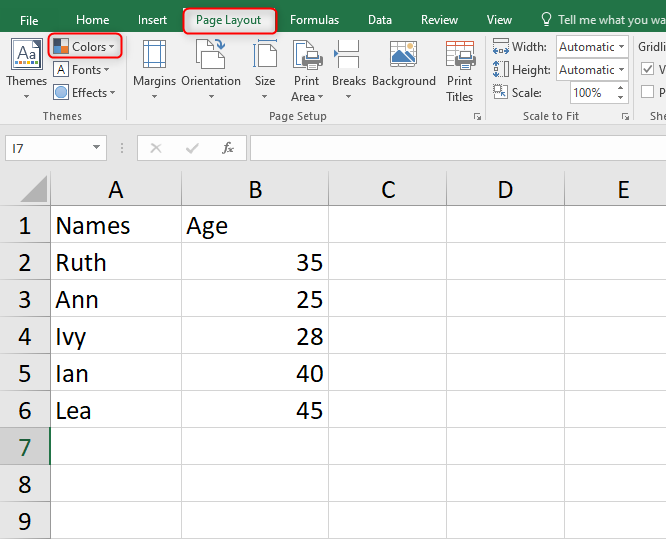
3. Click on Colors. This will display a list of colors for the themes available. Now we want to define our own colors.

4. Select the color of your choice. Open the menu again
5. Scroll down and select Customize colors just below the colors list. 
6. A "create a new Theme color" Dialog will appear.
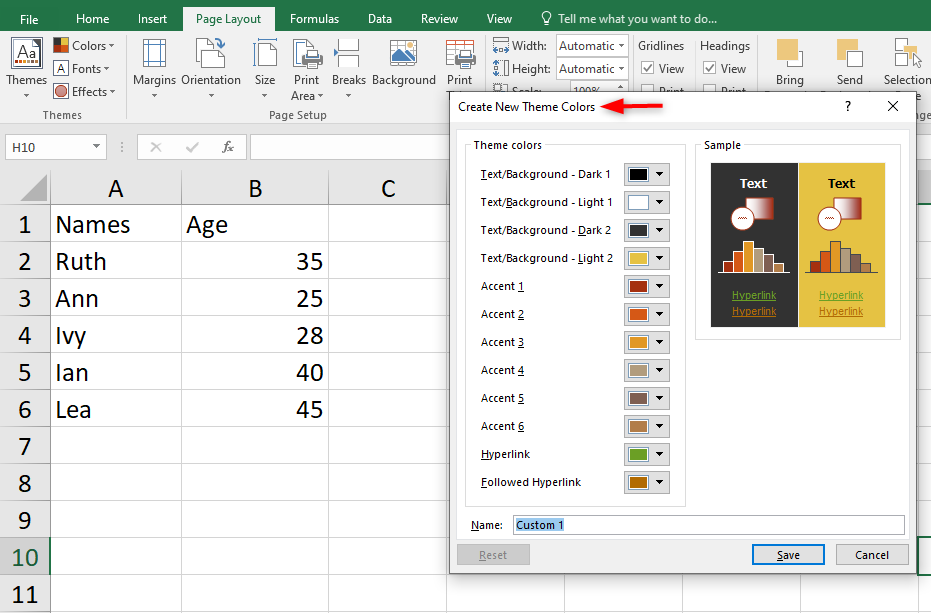
7. Make changes to the color options available in the dialog dropdowns.
8. Type in a unique theme name under the Name Text Field/name box below

9. Save your new Theme with the appropriate name chosen.
10. Also, remember to save your workbook to effect all changes that might have been made.
Changing fonts and effects
Fonts
Just as we have made changes to the colors of themes, the same can be done if we need to make amendments to fonts. We can also add special effects that can make our Excel documents look more appealing.
Procedure
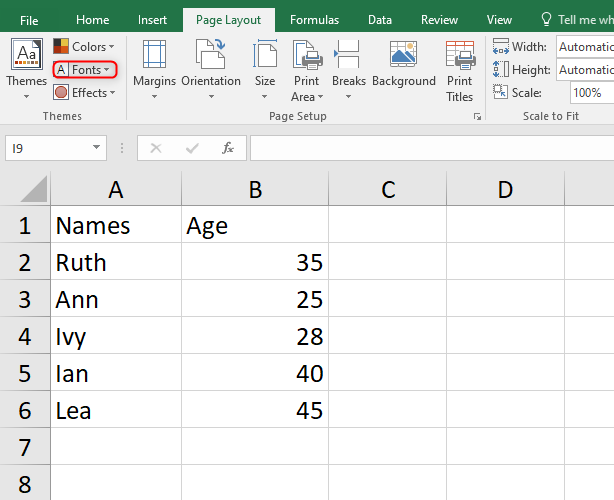
1. Navigate to the Page Layout tab
2. Select fonts in the Themes group.
3. Click customize Fonts. The Create New Theme Fonts Dialog will get launched

4. Select the heading font Dropdown.
5. Identify and select your most suitable font.

6. Also, select the font for the body inside the body font Box.
7. Type a name inside the name Box and click save.
Effects
The procedure for applying effects to your theme is almost the same as for other changes we have made before.
Procedure
1. Navigate to the layout tab. Select Effects.
2. Click or select an effect of your choice e.g. Reflection.

3. Save the current theme and workbook.
Deleting saved themes
We can also delete existing custom themes. To delete a custom theme:
Procedure:
1. Open theme gallery under Themes icon.
2. Right-click the custom theme you want to delete. Most probably at the top.
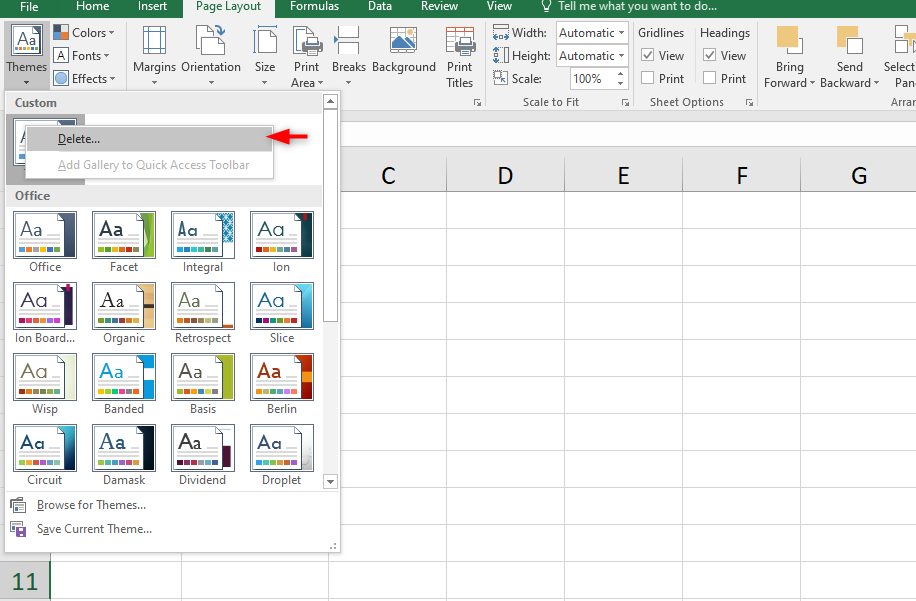
3. Select Delete.
4. Confirm deletion and save your workbook.
