

Over recent years, thirst for data manipulation tools has dramatically increased. This is because as time goes by, more data and especially numeric data is channeled into digital devices like personal computers. This kind of data must be continuously kept under the safeguard of such spreadsheet software. Various types of spreadsheets are continuously availed, but others like MS Excel remain on the lead in the market. Spreadsheets like Excel are of great help to their users and are among the best to have existed. Their main role in the market space is to store and manipulate numeric data for the users. Such spreadsheets support a large number of rows for data manipulation. These spreadsheets also support automatic recalculation; a concept that enables a formula to have its results changed whenever other values change or are removed. Row formatting, cell formatting, or even formats on columns are also doable with spreadsheets like excel. So much can be done to ensure that rows are arranged accordingly. Excel grants its users the privilege to number their rows from anywhere while in the excel document worksheet. To number a row dynamically use the following procedure:
How to number rows dynamically in Excel:
Step 1:
Ensure that MS Excel is installed in your laptop or PC.
Without MS Office installed into your computer, it might be challenging to run this tutorial on your laptop or pc. Ensure also that your OFFICE SUIT is activated for maximum user experience.
Step 2:
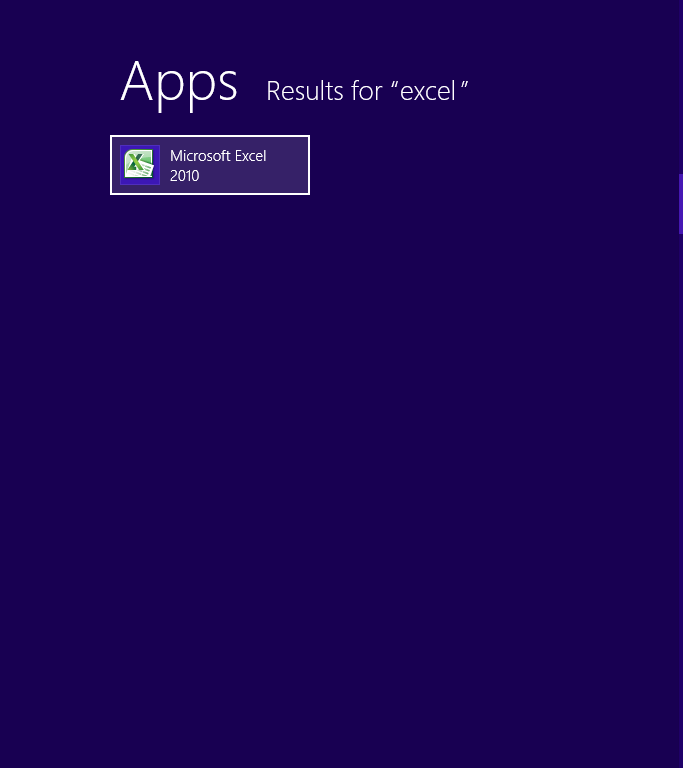
Search for Excel or optionally use a combination of windows + Q to open Search functionality. Type Excel; and this will show a list of programs.

Excel should be among the top of the list if you do not have many other programs whose name start with letter E.
It's important to ensure that the search is on the APPS option, and especially for windows 8 users, to located EXCEL, which is an application.
You can also navigate to its location manually if you like. However, the search functionality will save you precious time.
Step3:
Click on Excels icon to load the program into memory for use.
The icon is usually stripped in green, a color which is much easier to identify by anyone.
Step 4: Please Wait for Excel to load its interactive user interface.
The loading time varies for different machines but for almost fifty seconds is usually enough for MS Excel to be loaded into memory for display.
Step5:
Open the file of your choice that you want to edit.
This is achieved by opening the file explorer via the File tab. Then "click on open." A dialog as below appears.

The file explorer utility is also a useful aspect that enables files of any type to be located quickly. You can also choose to find the document file of your choice using the "Recent option."
To use this, click on the File tab in the ribbon and then click Recent.
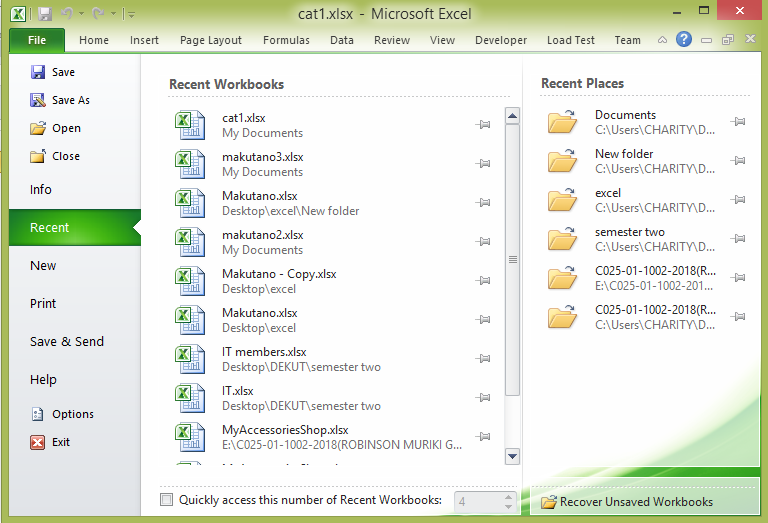
A list of all documents that have worked on lately will be displayed. However, in case you have just received the file from external sources and you have never worked on the Excel file before, the file will not appear in the recent section.
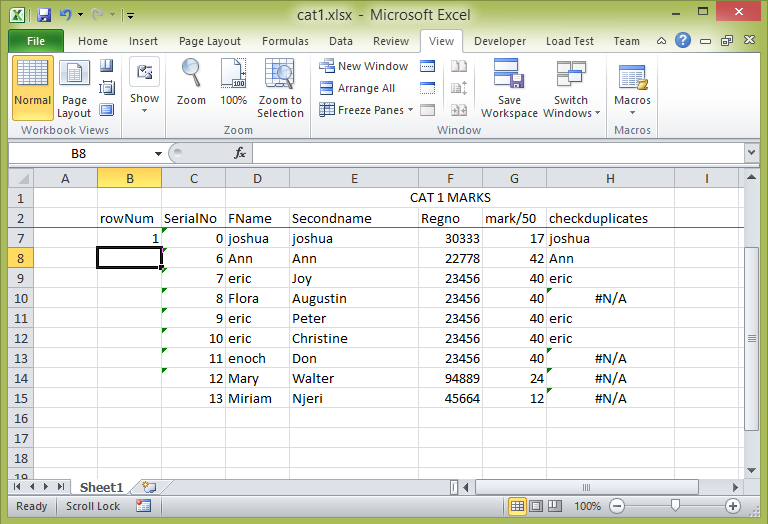
Step 6: Add a label named "rowNum" to represent the row number.
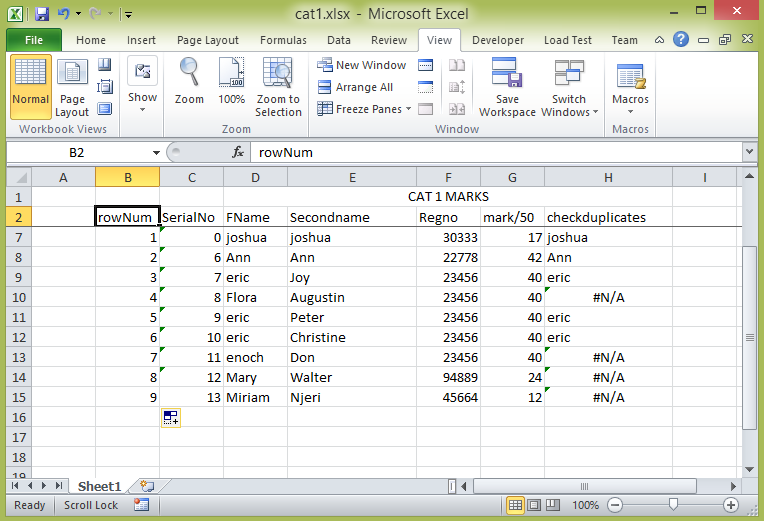
The label that will be added will act as the column header. It will show that the column contains row numbers to those who open or visit the worksheet.
Step 7: Place active cell pointer on the first cell where your row numbers will be passed as a result.

The cell should thus be the first cell in the range that you want row numbers to be displayed. The active cell pointer in Excel is used to select the current cell. It's at this place that manipulations can be done.
Step 8: While at the cell, e.g., B7, type the following Formula either in the cell or at the Formula Bar. Press Enter.
=ROW(A1)
The formula makes use of the row function to number your rows from anywhere (any cell) that you may wish. Pressing enter after keying in the formula in the formula bar or cell will display one as a result.
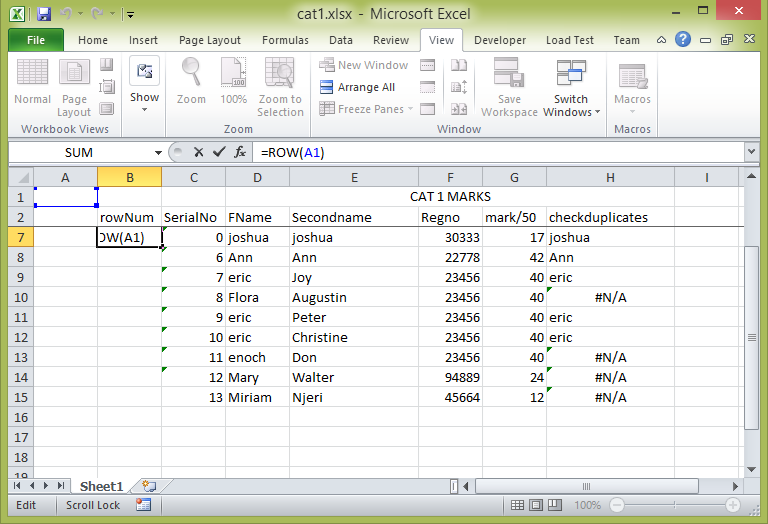
Step 9:
Drag the corner of the cell down the column. This fills the range of cells with numbers that act as row numbers.

The rows will thus be numbered as showed above in the screenshot.
Dragging the cell ensures that automatic recalculation does its part. Automatic recalculation enables Excel to automatically calculate a formula and fill its results to other various cells located in the range that you specify.