
Creating a questionnaire in Excel requires one to understand what he wants to know, ask the question and give the allowance for the respondent to answer. After coming up with the questionnaire, you can choose to print it out to receive handwritten answers or allow on-screen typed answers.
This is done as follows;
Steps to create a questionnaire on Excel
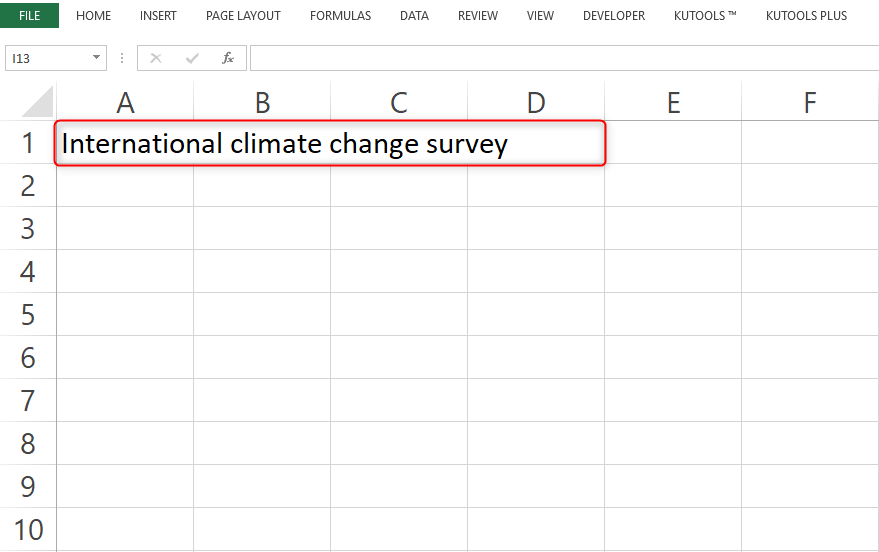
1. Open your Microsoft excel, and on your spreadsheet click the cursor into cell "A1."

2. In this cell, input the name for the questionnaire.

3. Notice that this will extend to other cells. Highlight the font, go to font size and choose the appropriate font, size, and title.
4. Increase the width of the cell to fit the title. Double click the line between columns A and B to adjust fitting the title.
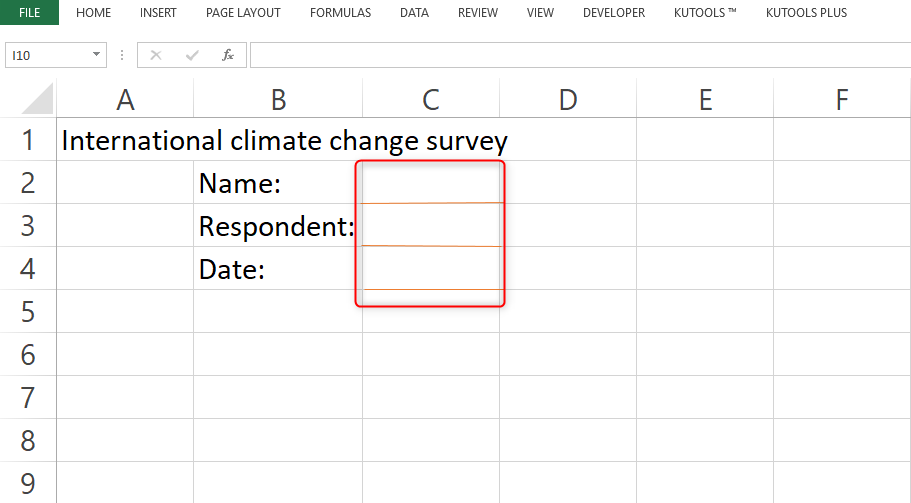
5. In cell "B2." Type "Name" then "Respondent" and on "B3" "Date" to indicate when the questionnaire was taken.

6. Navigate to the "Insert" tab and click the "shape" button. Press the shift key and click your mouse to draw a line after the "Name" "Date" to give space for the Respondent to fill.
7. Skip "B5" and proceed to "B6." Here start typing the first question
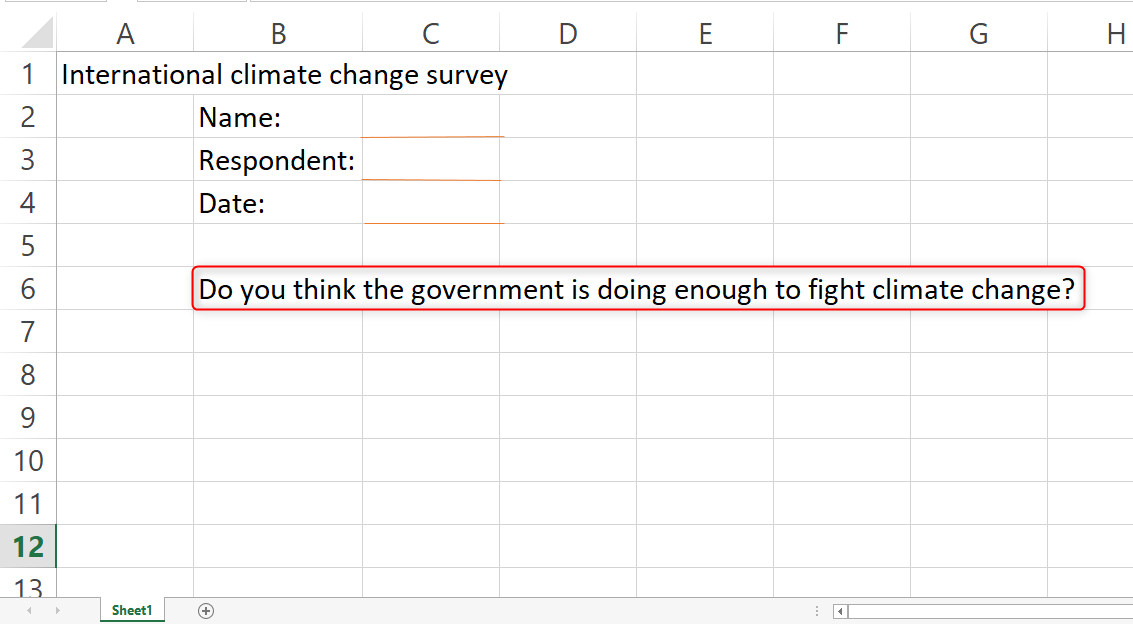
8. Press "Enter" to drop into cell "B7" and type the next question. Do this till the questionnaire is complete. You can click the left of the first character of each question and number them.
9. Widen the column to fit the questionnaire text by double-clicking the small line between columns "B" and "C."
10. Once you are done you can add Line to give space for filling questionnaires or leave it blank.
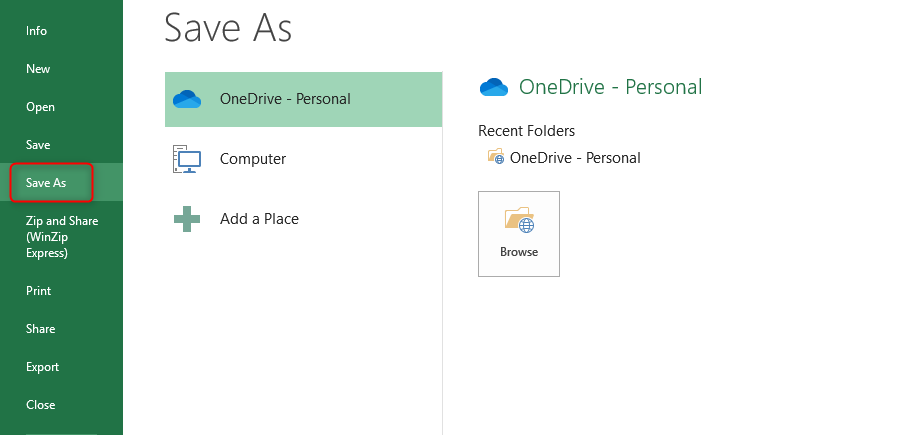
11. Click "file" and "Save as" and save the file with desired questionnaire name.