

Even though Microsoft Excel has improved over the years, it is still possible to crash when working with a large data set. Factors outside Excel such as power failure could cause it to crash. You may easily lose your data if your work was not saved in the first place. However, Excel has an AutoSave feature that automatically saves your work at regular intervals, ensuring that you don't lose your work once the system crashes. The feature can be used by Office365 users only. The following easy steps show you how to turn on AutoSave in Excel.
From the Options Dialog Box
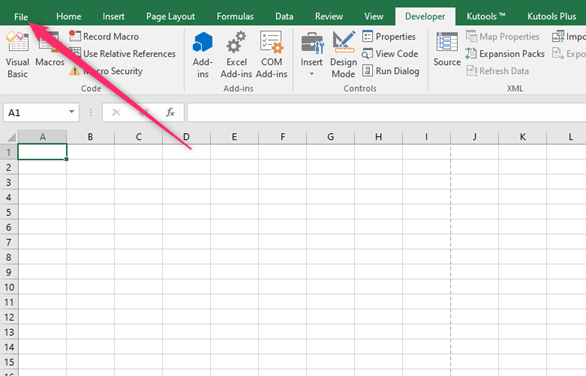
1. Go to the File Tab
2. Click on the Options

3. Go to the Excel Options and choose on Save choice that is on the left
4. Select the Save Auto Recover information option. The value is set to be 10 minutes, but you can choose a higher or lower value according to your desire
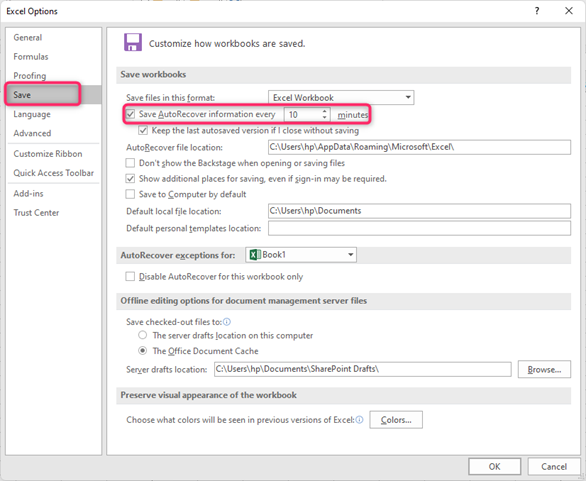
5. Select the AutoSave One Drive and
SharePoint Online files by default option in Excel Option. The option only works on Office365 and therefore saves your work after every few seconds.
6. Press OK
How to Add AutoSave to QAT (for Office 365)
You can add the AutoSave option in the Quick Access Toolbar if you use One Drive or SharePoint. In this case, you must have Office 365. In this way, AutoSave is enabled with a single click. You can always add AutoSave to the Quick Access Toolbar if you don't have an Office 365 subscription. Follow these steps to add
1. Select the Customize Quick Access Toolbar icon
2. Choose the Automatically save option
3. You can also click More Command
4. Go to Excel Options and click on the AutoSave choice
5. Click OK
The document will be saved every few seconds when AutoSave is enabled.
How to Automatically Save File before Closing using VBA
If you don't have Office 365, you will have to rely on the AutoRecover feature since AutoSave is unavailable. You can also use VBA code which ensures your work is saved before you shut the system; your work is therefore not lost. The following are steps you can use on VBA to save your files.
1. Open the worksheet that you would want to use VBA code for saving your work
2. Press the ATL and F11 key successively to open the VB Editor

3. Double-click on the ThisWorkBook object in Project Explorer
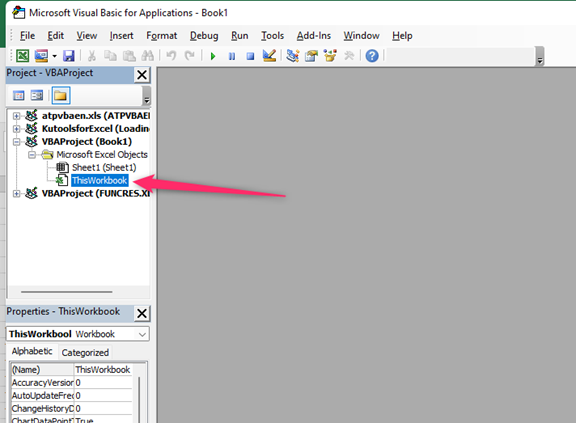
4. Copy and paste this code in the code window; Private Sub Workbook_BeforeClose(Cancel As Boolean) ThisWorkbook.Save End Sub
5. Shut down the VB Editor
How to Recover an Excel File Using AutoRecover
Save AutoRecover Information option allows you to automatically save work every 10 minutes as you work on it. The option keeps a temporary copy of your work and saves it every 10 minutes once it is enabled. Therefore, you can recover your file once the system shuts down abruptly. The following simple steps can be used to recover a file in Excel
1. Go to File
2. Click Open and scroll down to the Recover Unsaved WorkBooks section
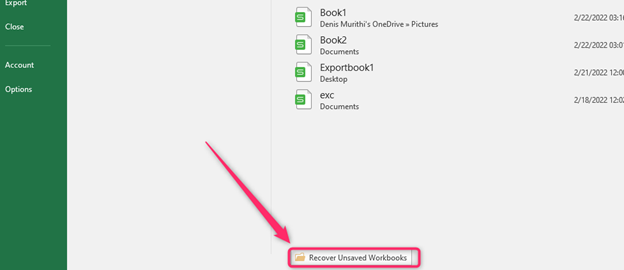
3. Choose the file you want to recover
4. Press OK