In excel sheets we may also be interested in maximizing space apart from just recording the data from various findings, we can maximize space by either writing two lines on a single cell or using shorter words. Writing two lines on a particular cell does not only save on space but also helps to congest the cells so that the data of the same type may not lose meaning when separated.
Apart from maximizing space on excel sheets; writing content on other text editors does not only involve writing to finish the task but also checking on some of the writing requirements. When we come to the issue of wording, we may need to maximize the usage of space to fit a lot of content on a single page or a line.
For us to write multiple lines in a single cell there are a series of steps we must adhere to for us to get to a successful result. Some of the steps are explained below with an example.
Method 1: Using Excel Shotcut
On your computer search for Microsoft Excel and click to open it. An excel sheet will automatically open upon clicking on Microsoft Excel.
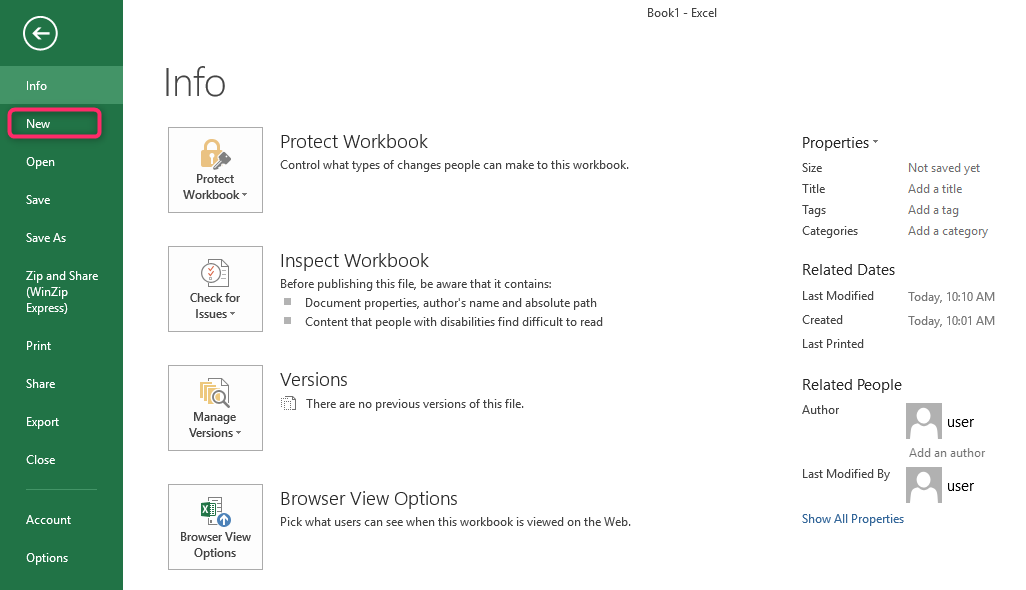
1. On the menu bar, click on the file to create a new blank excel sheet.
2. In this excel sheet, we won't be interested in inserting a lot of content into different columns as in the case of other excel sheets we have dealt with. Since we are not inserting many columns, on the first row enter a word of your choice.

3. As you can see, the character has already taken up the whole space of the first cell. Now we will have to create a new line, just on the cell with your first character, click on ALT+ENTER functions at the same time.

4. After you click on those two functions, you will immediately see a new line has been created below your first character. Enter another character on the newly created line. The two characters will all appear on cell B1.

5. Repeat the whole process until you get multiple characters as in the case below.

Method 2: By using the Wrap Text Feature
1. Click on any cell
2. Navigate to home

3. Click Wrap Text

4. Enter the information on the cell. A new line will be created automatically depending on the size of the cell

Controlling Vertical Alignment LEGAL OFFICE
Generally, most of the data found in a cell are always lined up at the bottom. The arrangement at the bottom may cause issues in reading when a number of your cells have multiple lines in them.
1. If your cells are lined up at every end (either the top, the bottom, or at the center), you have to start by highlighting all the cells that you wish to rearrange.
2. You need to continue by right-clicking to the table that appears.
3. In the table select Format Cells therefore return to the Alignment tab.

4. In the Alignment tab, you have to choose in which form you wish to arrange the vertical alignment as. So, you can either select bottom, Top, or Center but another option will be available.
Apply Merge & Center Command to Make Two lines In one cell
Steps;
1. Firstly, you select Cell D5. You will note that the words are many forcing them to move to the following cell.
2. Highlight all the cells that the words are in, basically Cells D5 & E5. Move to the Home tab and pick Merge& Center option.

3. Then, you will see the return values.
4. Repeat the procedure above by highlighting the selected Cells B5 & B6 that contain words in them. Move to the Home tab and click on the Wrap Text option.

5. You will notice that the lines will appear.
Line Break After a Specific Character in Excel
1. For you to use this method place a Comma (,) in cell B5,
Assume that Pallister Phill is your Test Line, then, place the Comma after Pallister or before Phill.

2. Then, press Ctrl +H keys simultaneously. You will see Find and Replace window that appears on your screen.

3. Place a Comma (,) in the Find What field, and replace it by tapping Ctrl+ J keys simultaneously, alternatively, click on Replace All. A message will appear stating the number of replacements you have done. Finish by a press on OK.

4. You will note a new line will be made but not all sentences will be seen.
5. Continue to adjust your row heights.
6. Finally a new line emerges showing all the sentences.

Adding a Line Break in a Formula
1. Assume that D5:D9 are the totals of values added together in the range of values that you will be provided with. For you to be able to find the totals you will use the generic formula below to calculate;
=“Total amount is:”& SUM(D5:D9)
2. To insert a line break between texts and the total amounts you found above, you will use the Excel CHAR function.
Excel CHAR function is quoted with the number 10. The “&” is also added to the formula. This is used to bind the line break character to the other text in the formula.
The syntax is below showing the binding of a line break character and texts;
=“Total amount is:” & CHAR(10) & SUM(D5:D9)